When we’re thinking about cleaning up mould, it’s often when we start to notice it – which is normally when it has already gotten pretty bad! One trick with managing mould is to treat it before it gets so bad that you can’t stop looking at it. Mould spores are airborne, so even when you’ve removed it, there is always the chance that it will come back. That’s why learning how to manage mould with preventative strategies is the best way to beat it.
How to know where to look
Mould spores will flourish in areas where there are ideal conditions for their growth; meaning shady and damp (but mould can pretty much grow anywhere!). Think areas where there might be poor water drainage (areas that never seem to fully dry) and a lack of strong sunlight (even in summer), such as sections of driveways, side paths, patios, sections of walls and fences, and so on. Areas such as these that fit the ideal conditions will almost always continue to experience mould growth.
These areas below may start out clean, but can be susceptible to mould growth!

How to know if it’s mould
The easiest way to spot if you have mould is if you try to sweep an area that appears to have dirt, but the dirt doesn’t move. If you find yourself with an immovable dirt problem, it’s actually a black mould problem! Black mould grows over a long period of time and is difficult to remove easily. This is why an effective mould remover is absolutely key to getting on top of black mould.
The images below show what these areas look like when they've been contaminated with mould.

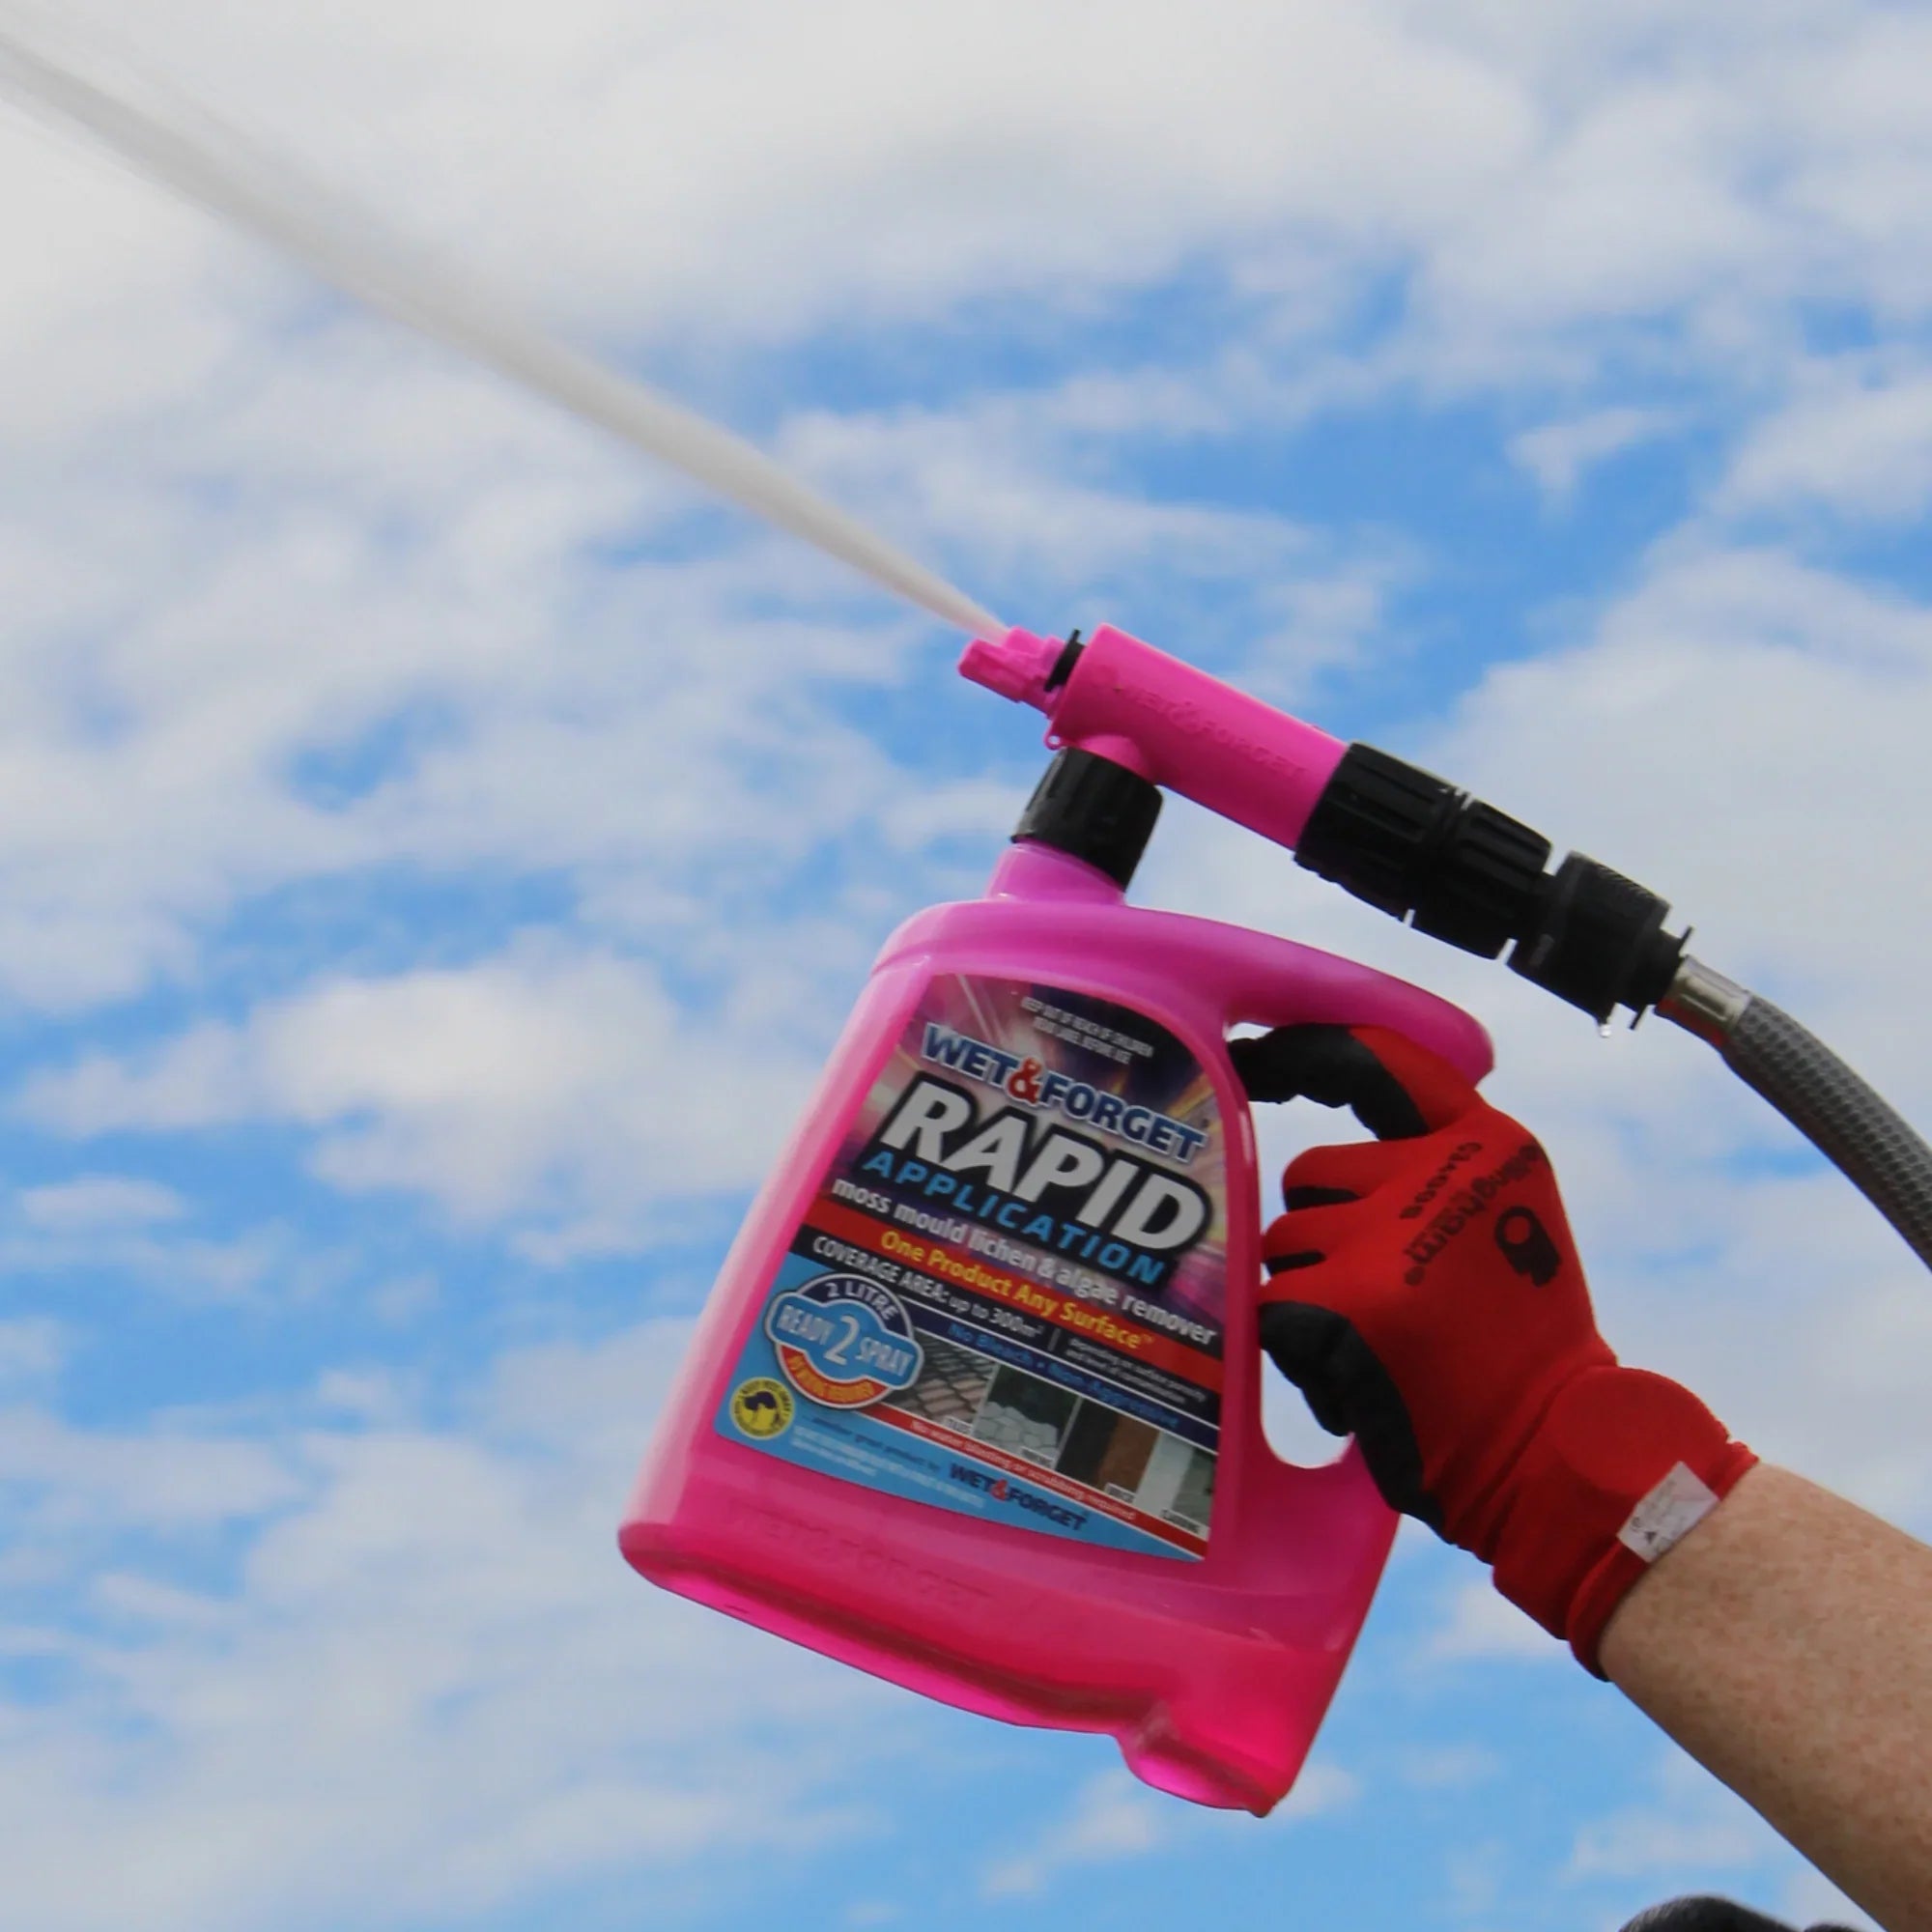
Removing Mould With Rapid Application
Rapid Application is specifically designed with special biodegradable fungicides to target problematic exterior biological growth just like black mould, as well as a host of other types of growth such as lichen, algae and moss. Rapid Application is such an easy way to remove mould, as it simply clicks onto a standard garden hose, and then mixes to the correct dilution rate right there in the bottle. Its ‘jet’ and ‘fan’ settings available on the nozzle mean that applying to large areas like driveways becomes really quick and easy. Once Rapid Application is on the surface, you just leave it to soak in, and your job is done. Rapid Application will kill off the mould spores in the treated area within a couple of hours, and will then work with the aid of the weather to decompose the remaining dead mould over the next few months.
Rapid Application is able to clean up a range of biological growth on many different surfaces, including those shown above as well as tennis courts, roofs, and more.

Hmm, a few months you say? Yes, and this is for two reasons:
1) Rapid Application is bleach free, so it doesn’t remove the colour from the mould to give that ‘clean look’, which also means it doesn’t bleach your surface either!
2) Rapid Application is also non-caustic and non-acidic, which means not only will it not bleach the surface, it also won’t corrode or damage it either.
While it can take a while for it to look like the mould is gone, it is actually dead and no longer growing after only those few hours, with no damage to your surface underneath.
Preventing Mould With Rapid Application
Okay, so you’ve applied Rapid Application to the mould problem - what’s next? Well, Rapid Application will actually help to provide some preventative protection against the premature regrowth of mould. The residual product on the surface will reactivate the first few times it rains, to help attack and neutralise and rogue spores. This will help achieve a longer mould-free period on the surface. That said, preventing mould regrowth works best when the surface receives a maintenance dose of Rapid Application about once a year, and it is best to apply this when you start to notice the mould – not when it has already gotten bad. The best time to apply Rapid Application for the prevention of big mould breakouts is in late Autumn or early Winter. This is because we tend to experience more rain and less strong sun in Winter, which provides the conditions that mould loves. That’s why sometimes, for example, your poolside paving might look fine in February, but dark green or even black come November!
Rapid Application can help prevent mould on almost every outdoor surface, including all the above mentioned areas as well as timber fencing and colorbond roofing too!

Here’s another hot tip for mould prevention: Don’t waterblast first!
You might be wondering if you read that right, and you did. Waterblasting (or gurneying) can make the surface look really clean by stripping off the growth, but at the same time, it can actually push the mould spores further into the surface. This means that the mould is more likely to grow back faster, as those spores are now hard to reach with mould-removal products.
Learn more about Rapid Application for treating mould

To learn more about the Rapid Application product in general, click here.
To learn how to apply Rapid Application, click here.
To see which surfaces you can apply Rapid Application to, click here.


